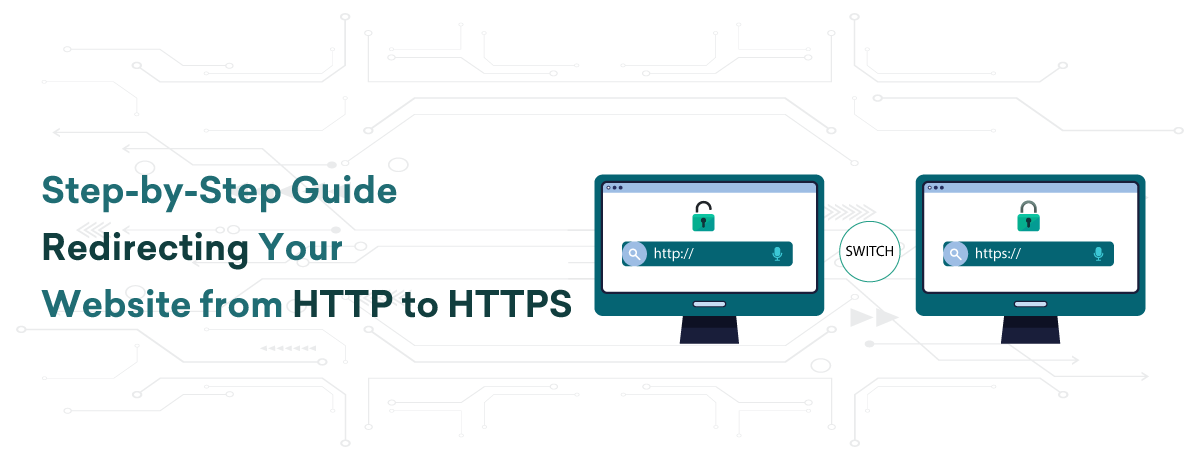
Using HTTPS (Hypertext Transfer Protocol Secure) to secure your website is essential for safeguarding user data, improving search engine rankings, and fostering visitor trust. Data transferred between the user’s browser and your server is encrypted via HTTPS, which makes it far more difficult for bad actors to intercept and misuse the data. Getting an SSL certificate, setting up your server, and changing your website’s settings are just a few of the procedures involved in switching your website from HTTP to HTTPS. You will be guided through the process of making this crucial shift by this step-by-step instruction.
Table of Contents
Get an SSL Certificate
To start the process of switching your website from HTTP to HTTPS, you must first obtain an SSL certificate. An SSL Certificate allows encrypted connections and validates the legitimacy of your website. An SSL certificate is available from several sources:
Certificate Authorities (CAs): Let’s Encrypt, Comodo, and DigiCert are a few examples of companies that offer SSL certificates. While some ask for a fee, others provide certificates for free.
Hosting Companies: A lot of hosting companies include SSL certificates in their hosting packages or sell them as an add-on.
After selecting a provider, create a Certificate Signing Request (CSR) and follow the provider’s instructions to get your SSL certificate.
Installing the SSL Certificate
Installing your SSL certificate on your web server is the next step after getting it. The installation procedure differs based on the hosting environment you are using:
cPanel: To install the certificate, go to the SSL/TLS area, upload your certificate files, and then follow the instructions.
Apache: To update the paths to your certificate files in your configuration files (usually httpd.conf or apache2.conf), you must restart the Apache server after making these changes.
Nginx: To add the SSL certificate and key routes to a Nginx server, edit the server block in your configuration file and reload the server configuration.
Modify the URL of Your Website
Change the URL of your website to utilize HTTPS once your SSL certificate has been installed. This comprises:
Content Management System (CMS): Change the site’s URL to use HTTPS if you are using a CMS such as WordPress, Joomla, or Drupal. This may be accomplished in WordPress by going to Settings > General.
Hardcoded URLs: Make sure that all links, scripts, and images on your website that have hardcoded URLs use HTTPS. If a lot of the URLs on your website are hardcoded, you can use a plugin or script to automate this procedure
Configure 301 Redirects
Configure 301 redirects on your server to guarantee that all HTTP traffic is sent to HTTPS. This will notify browsers and search engines that your website has switched to HTTPS permanently. 301 redirect setup differs depending on the type of server you have:
Apache: Add the following lines to your .htaccess file:-
apache:
RewriteEngine On
RewriteCond %{HTTPS} off
RewriteRule ^(.*)$ https://%{HTTP_HOST}%{REQUEST_URI} [L,R=301]
Nginx: Add the following lines to your server block configuration:-
nginx:
server {
listen 80;
server_name yourdomain.com www.yourdomain.com;
return 301 https://$host$request_uri;
}
Make Updates to Google Analytics & Google Search Console
Update your Google Analytics and Search Console settings after switching to HTTPS:
Google Search Console: Create a new property for your site’s HTTPS version and upload a new sitemap.
Google Analytics: Make sure the new HTTPS URL is reflected in the property settings.
Give Your Website an Evaluation
Finally, make sure everything is working properly via HTTPS by thoroughly testing your website. Look out for:
Mixed Content: Make sure that HTTPS is used to load all resources, including scripts, pictures, and stylesheets.
Functionality: Verify that all of the forms and functions on the website function as intended.
Check to make sure all HTTP pages properly reroute to their equivalent HTTPS pages.
Conclusion
You can effectively redirect your website from HTTP to HTTPS by following these instructions. This change improves the security of your website, safeguarding user information and fostering confidence. It can also raise your search engine rankings and give your visitors a more dependable, safe experience. Making the move to HTTPS is essential to ensuring that your website complies with current security requirements and keeps expanding.


